Article Summary:
Dairy Farmers are looking for ways to efficiently utilize farm waste. Composting pays off by reducing the financial burden and by making the soil fertile. Let’s dig into our step-by-step guide for compost making and explore the chemistry behind composting. There are five parameters to stable compost that ought to be maintained in optimal range; C/N ratio, moisture, temperature, oxygen, and pH. Learn more in this informative article.
Economically viable and sustainable farms across Australia are making the most of their farm wastes.
They are increasingly using farm wastes for making their bio-fertilizer; the compost. Farmer’s interest in compost making for their dairy farms is peaking because of its cost-effectiveness in managing the land. Compost is a better alternative to chemical fertilizers as it makes the soil fertile and stable for a long time. We have discussed whether compost making for your farm is worth the effort or not in our previous article: Compost Making for the Dairy Farm – Is it worth it?
We often hear how we all are part of the food chain and how every living thing returns to earth. The thought is scary, but sustaining all the life on earth. All the waste organic matter around us is continuously decomposing and nutrients are returning to earth.
Making compost on-farm is about controlling the decomposition process and converting the waste into useful and nutrient-rich bio-fertilizer. Let’s become farm chemists for today and learn the process of compost making step-by-step.
Today, we dig out all the farm wastes, assess their carbon-nitrogen ratios, moisture content, pH and discover the process of controlling chemical reactions happening inside the heap of waste. We will also look at some parameters and their optimal ranges for a good compost and suggest tests you can easily run around to figure out the level of microbial activity in compost.
Let’s start with the popular types of compost making processes used by farms.

Types of compost making processes
1. Vermicomposting
This decomposition process is carried out with the help of worms in the presence of oxygen, at room temperature. Decomposition in the presence of oxygen is called aerobic decomposition. It is popular among farmers for the richness in microorganisms and nutrient diversity it brings to the soil. However, this method is effective on small scale and requires careful management of worms who are sensitive to temperature and moisture.
2. Passive Composting
This process is not controlled or monitored. Strictly speaking, it cannot even be called composting, but here we are. This method is used by farmers who are unable to dedicate time and effort to the compost making process. Piles of waste are left to decompose naturally and the process takes six months to a year. It yields low-quality compost which may carry pathogens and weed seeds. Watch out for a weed outbreak!
3. Aerobic composting
This process may appear similar to passive composting but here we reach a distinct temperature to achieve compost making, this phase is called the thermophilic phase. Afterwards, at the mesophilic stage, low temperature is maintained. Aerobic composting is the most popular compost making process among farmers. This is the process we are exploring today.

A drill down into Aerobic composting
Aerobic composting has two stages
Thermophilic stage: In this stage, thermophilic (heat-loving) bacteria breaks down the organic and biological wastes and heat is produced as a result. Compost maintains a temperature of approximately 50-55 C for about 24 hours. This temperature is enough to kill the pathogens and weed seeds, thus making compost safe to use.
Mesophilic stage: This is the low-temperature stage. After microbes have decomposed readily decomposable matter, the breakdown of other organic substances begins. The result of this stage is a humus-rich product, we call compost.

Parameters vital for composting
The optimum range of parameters ensures the maximization of microbial activity for making good compost.
Woody materials are high in carbon, while animal-based matter and legumes are high in nitrogen
For accurate measurements, run tests through a reputable lab
Low levels of moisture will slow down microbial activity in compost, while high levels will produce odorous compounds
Use specialized tools for turning the mix or use fans to make the air circulate if needed
Use a thermometer to daily assess the temperature
| Parameter | Optimum Range | Assessment |
|---|---|---|
| Carbon Nitrogen Ratio | 30-40: 1 | Analyze the C/N ratio of all the various organic matters. |
| Moisture Content | 54-65% | Squeeze the final mix to assess the moisture content |
| Oxygen | More than 10% | Although microorganisms can survive at 5% oxygen. Ensure the levels of oxygen are >10% |
| Temperature | 55-65 C | Every heap of compost must acquire optimum temperature to exterminate the pathogens and weed seeds |
| pH | 5.5 – 8.5 | Optimum pH range is a pre-requisite for high activity of compost microorganism |

Step-by-Step Management of composting Process
Determine proportions of your compost recipe
After assessing the C/N ratio of various farm wastes, determine the proportion of each parameter. Farm wastes are usually used in the following ratios;
| Components | Ratio |
|---|---|
| Liquid Manure | 1/3 |
| Carbon Source | 1/3 |
| Solid Manure | 1/3 |
You can consult companies or compost consultants that help farmers make their recipes and formulas.
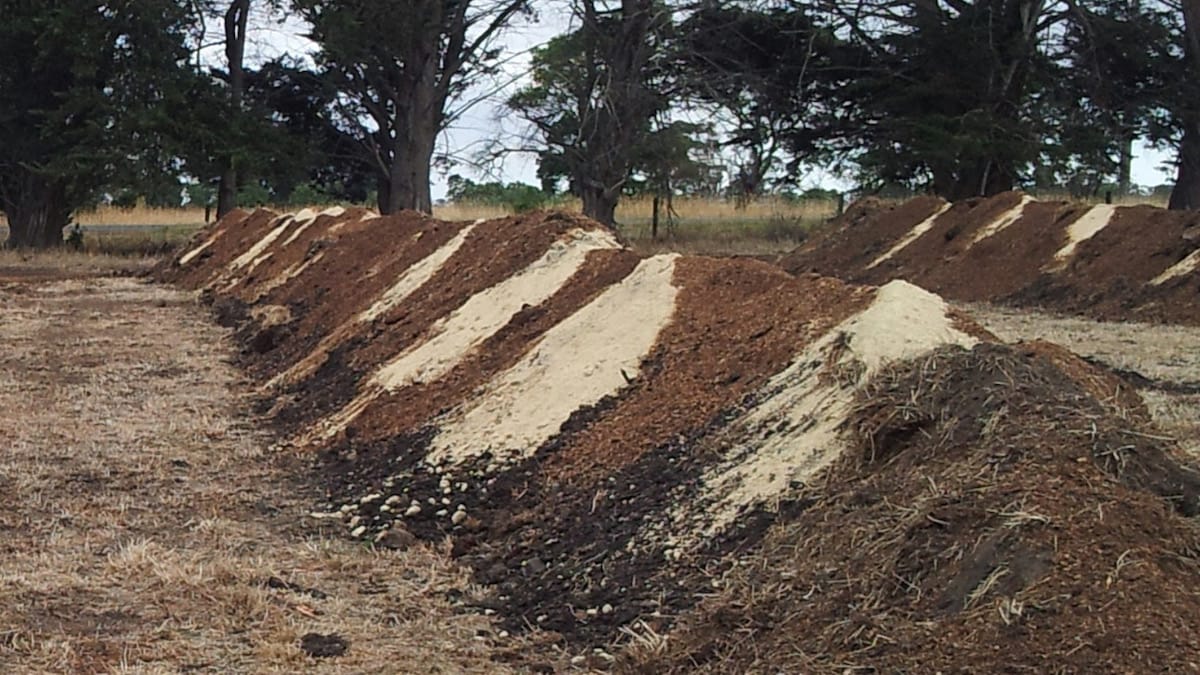
2. Make the heaps of compost components
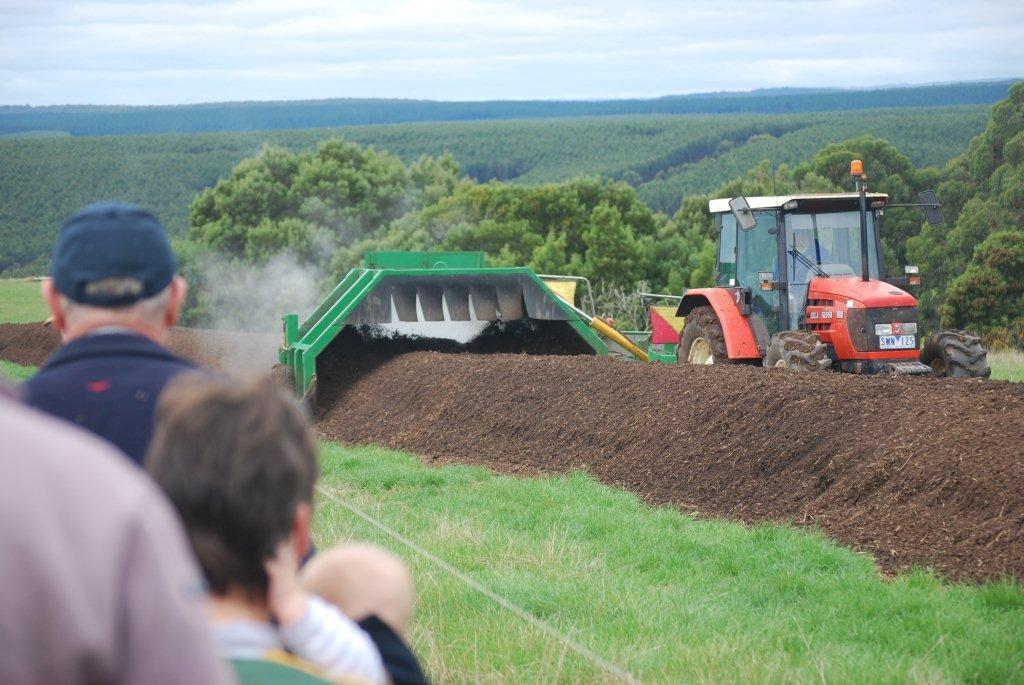
Make 1.5 meters high and 1.5 meters wide lanes of selected farm waste. Choose a site that is easy to access and monitor. The length of the compost rows depends upon the site chosen. By the end of composting process, compost volume will decrease by 50-70%.
3. Mix compost ingredients
Mixing all ingredients is crucial for microbial activity. An even distribution of all components throughout the mix is required to obtain a homogenous compost at the end. Mix all the solid components and then add liquid manure to ensure moisture is plenty for the microbial activity to efficiently turn the mix into compost.
4. Monitor compost heaps
Monitor compost regularly to maintain the optimum range of parameters; temperature, moisture, oxygen, and pH. The optimum ranges of these parameters are given in the table above.
5. Turn the compost heaps
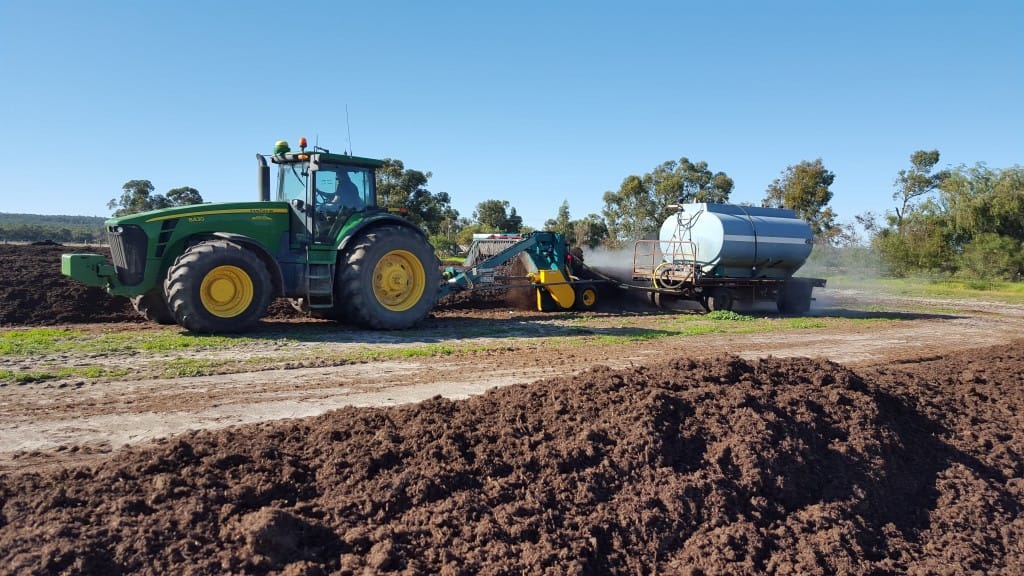
Regularly mix and turn the compost heaps for the smooth exchange of gases. Turning the mix will allow the excessive heat to be released and break down the bigger chunks in the mix. Turning the heap will ensure the consistency of compost by allowing surface matter to be exposed to high temperatures.
Use a compost turner as it allows the oxygen flow as well.
6. Maintain the compost heap
Regularly monitor compost every 10-14 days. Ensure moisture content is optimum. To speed up the breakdown process, microbes can be added.
After six weeks of turning and maintaining the moisture, measure heap temperature every three days. When the heap cools down indicating lower microorganism activity, compost is ready. Composting requires 8-12 weeks and 5-7 turnings.
7. Test Nutrients
Now that compost is ready, microbial activity has slowed, it is time to test the nutrient content. A well-made compost can have 5-10% Nitrogen. Depending upon the needs of the paddock, you can add nutrients to the compost. Basic nutrient content in compost:
- Nitrogen 1-2%
- Phosphorus 0.2-1%
- Potassium 0.5-1%
- Carbon 30%
Good, now that your well-made bio-fertilizer is ready, aren’t you feeling happy? Your land management has stepped up a notch with composting nutrients! This brings us to the end of this article.
Until we meet again, Happy Composting!
- The Dedicated Team of Pasture.io, 2021-11-17